Table of Contents
- Defining Natural Posing and Key Takeaways
- The Physiology of Camera Anxiety
- Movement-Based Posing Techniques
- Prompt-Driven Interaction Strategies
- Hand Placement and Posture Mechanics
- The Micro-Expression Framework
Defining Natural Posing and Key Takeaways
Natural wedding photography posing works through movement-directed interaction. The photographer supplies a physical framework, then the couple fills it with breath, touch, conversation, and small changes in balance. Each instruction creates conditions for a photograph rather than prescribing a finished appearance.
Couples often mirror the rigidity they associate with traditional portraiture. A camera rises, shoulders lift, smiles hold too long, and hands lose their ordinary purpose. I define natural posing by the opposite visual condition: bodies remain responsive, expressions pass through the face, and attention moves between two people instead of settling on the lens.
Initial awkwardness belongs in the baseline expectation. The body recognizes sustained observation and may answer with shallow breathing or muscular tension before conscious thought catches up. Treating that response as routine removes a layer of embarrassment from the session.
Natural-Pose Brief
- Regulate breathing: Use a longer exhale to reduce the physical intensity of camera awareness.
- Keep moving: Walk, shift weight, or adjust an embrace instead of holding one position.
- Use interaction prompts: Direct attention toward a partner’s voice, breathing, or clothing.
- Give hands an anchor: A lapel, pocket, waist, or familiar handhold prevents fingers from searching for a role.
The key takeaway is practical: a pose should remain permeable. It needs enough structure to support composition and enough freedom for affection to surface on its own timetable.
The Physiology of Camera Anxiety
Camera anxiety appears in the body before it becomes visible as an expression. The autonomic nervous system can interpret close observation as a threat cue, producing a fight-or-flight response. Breathing becomes shallow, the jaw tightens, and the shoulders travel toward the ears. A request to “relax” rarely gives the body enough information to reverse that sequence.
A Mechanical Breathing Reset
The session can begin before the camera reaches the photographer’s eye. Inhale through the nose for 4 seconds, allowing the lower abdomen to expand. Exhale through the mouth for 6 seconds. Complete three cycles while standing with the knees unlocked.
This pattern lengthens the exhale and provides a repeatable physical task for lowering heart rate. The same method can be used between portrait sequences; Harvard Health also describes how diaphragmatic breathing exercises can help quiet the stress response.
Releasing the Jaw and Shoulders
- Let the tongue rest instead of pressing it against the roof of the mouth.
- Separate the back teeth slightly while keeping the lips comfortably together.
- Raise both shoulders once, then allow them to drop 1 to 2 inches away from the ears.
- Exhale before turning toward a partner or beginning a walk.
The order matters. Jaw release becomes easier after the exhale, while lowered shoulders give the neck and face room to move. The resulting portrait reads as quiet confidence because the underlying mechanics support that impression.
Physical Reset
- Complete three cycles of a 4-second inhale and 6-second exhale.
- Drop the shoulders 1 to 2 inches away from the ears to release jaw tension.
- Shift primary body weight to the back leg and keep a slight bend in the front knee.
Movement-Based Posing Techniques
Early walking portraits sometimes relied on asking couples to freeze in the middle of a step. The interruption produced rigid limbs, unbalanced weight, and visible anticipation. Continuous movement replaced that approach because a genuine stride carries its own sequence of changing posture.
The Walk-and-Talk Method
- Set an easy pace. Begin below the couple’s normal walking speed so neither person has to chase the other.
- Match stride length. The partner with the longer stride shortens it until both sets of shoulders rise and fall together.
- Assign visual focus. Look ahead for a few steps, then toward each other while the conversation continues.
- Preserve the turn. Keep walking through the glance rather than stopping when eye contact begins.
- Let the sequence resolve. Hands may tighten, separate, or return naturally as balance changes.
Freezing a standard walking stride cleanly commonly requires a shutter speed in the vicinity of 1/500th of a second. That shutter speed supports the emotional method: the couple can continue moving while the camera isolates a precise instant.
Continuous movement has a venue-specific limit. Dim historic interiors and twilight conditions may lack enough ambient light to sustain a fast shutter speed, introducing severe motion blur. In those settings, smaller weight transfers can preserve visual energy without requiring a full stride.
Contrapposto as Controlled Movement
Contrapposto creates an asymmetrical body line through balance rather than effort. Shift most body weight onto the back leg, soften the front knee, and allow the back shoulder to drop 1 to 2 inches. Hips and shoulders then settle on related but distinct angles.
The stance works especially well when one partner turns toward the other. It introduces direction into a quiet portrait and avoids the squared, evenly weighted posture that often makes formal clothing appear stiff.
Prompt-Driven Interaction Strategies
Verbal prompts move cognitive attention away from self-surveillance. When a person starts monitoring chin position, arm angle, smile width, and the photographer’s reaction at once, spontaneous expression narrows. A prompt gives the mind one immediate subject: the partner.
Physical micro-adjustments can intensify that monitoring loop. Moving a chin or arm by hand draws attention directly to the body part and often leaves the subject waiting for another correction. A sensory instruction travels differently because it describes an experience rather than an appearance.
A Sensory Prompt Sequence
- Sound: Listen for the rhythm of your partner’s breathing before looking toward them.
- Texture: Notice the fabric beneath your fingertips, whether it is a lapel, sleeve, veil, or jacket.
- Pressure: Adjust the handhold until it feels familiar rather than arranged.
- Proximity: Move closer at a pace that allows the other person to respond.
These prompts leave room for a breath, a private smile, or a change in touch. Delivery pacing should follow the couple’s baseline temperament. Introverted couples may need silence after each cue; extroverted couples may respond more naturally when a prompt unfolds inside conversation. The photographer watches the interval between instruction and reaction instead of filling every pause.
Direct attention toward the relationship, then let the camera wait at its edge.
This approach also protects the individuality of the photograph. One couple may answer a breathing prompt with stillness; another may laugh at the sudden intimacy of listening so closely. The instruction stays consistent while the emotional evidence remains their own.
Hand Placement and Posture Mechanics
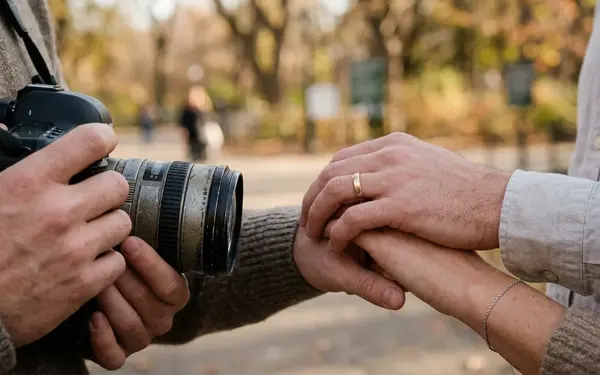
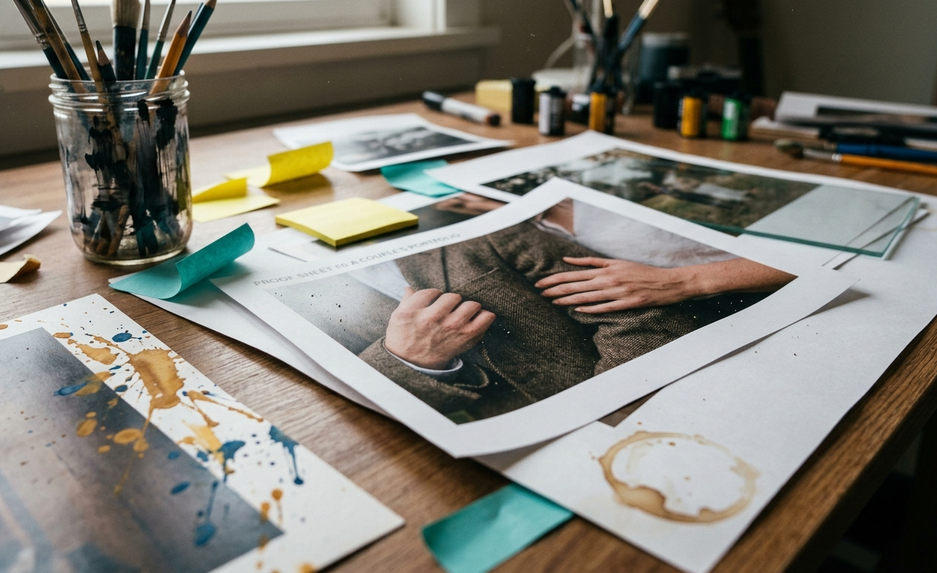
Hands reveal uncertainty quickly. Unguided fingers may clench into fists, flatten against a torso, or hover without contact. A reliable solution begins with an anchor point: a lapel, pocket, partner’s waist, forearm, or hand.
Relaxed Hand Anatomy
Keep the fingers softly separated and allow each joint to retain a slight curve. The thumb should rest with purpose rather than projecting away from the hand. When touching a partner, use enough pressure to establish contact while preserving the natural shape of the fingers.
- Slide part of a hand into a pocket while leaving the thumb or fingers visible.
- Hold a lapel with curved fingers instead of closing the whole hand around the fabric.
- Place the palm at a partner’s waist, then soften the wrist so the forearm does not form a rigid bar.
- Let joined hands settle at the height created by relaxed elbows.
Flat palms tend to read as bracing. Clenched fists carry tension into the forearm and shoulder. Curved fingers with a clear anchor create a line that looks intentional without becoming decorative.
Spinal Alignment Without Rigidity
Begin from the pelvis. Shift the majority of body weight to the back leg and bend the front knee slightly. Lengthen the spine upward while keeping the lower ribs settled. Then lower the back shoulder by 1 to 2 inches, allowing the head to turn independently from the torso.
This sequence produces confidence through balance. Pulling the shoulders sharply backward can compress the neck and overstate the chest; length through the spine gives formal attire a cleaner line while preserving breath.
Hand-Anchor Rule
When fingers begin to stiffen, change the task instead of issuing another appearance-based correction. Ask the hand to feel fabric, adjust a lapel, or respond to a partner’s touch.
The Micro-Expression Framework
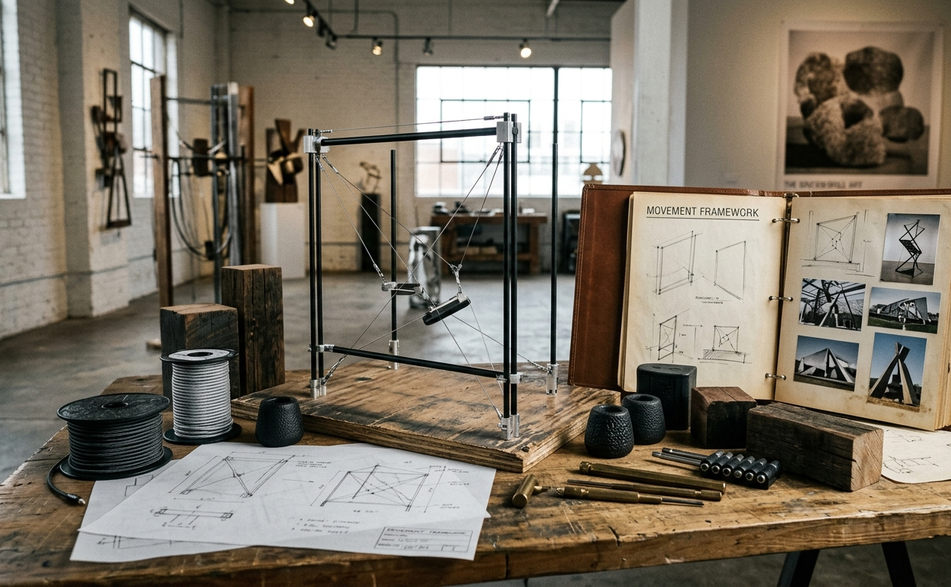
Modern shutters change the practical meaning of a pose. The camera does not require a couple to sustain an expression for a long interval; it needs a coherent physical framework while expression moves through it. Breath, weight distribution, touch, and visual focus hold the composition together.
That framework can last across several emotional states. A glance begins, the eyes tighten, the mouth responds, and the face settles again. Continuous capture preserves the narrow transitions that a held smile would erase.
A pose is a temporary physical framework built to receive authentic connection.
The documentary outcome therefore depends on preparation measured against a very small window. The breathing reset softens the jaw. Movement keeps weight alive. Sensory prompts interrupt self-monitoring. Hand anchors prevent tension from spreading into the shoulders. Together, those mechanics give the camera access to a reaction that may barely register in real time.
A genuine human micro-expression, including a fleeting smile or subtle tightening around the eyes, can appear and vanish in as little as on the order of 1/25th of a second.